Snake Plant
November 2022
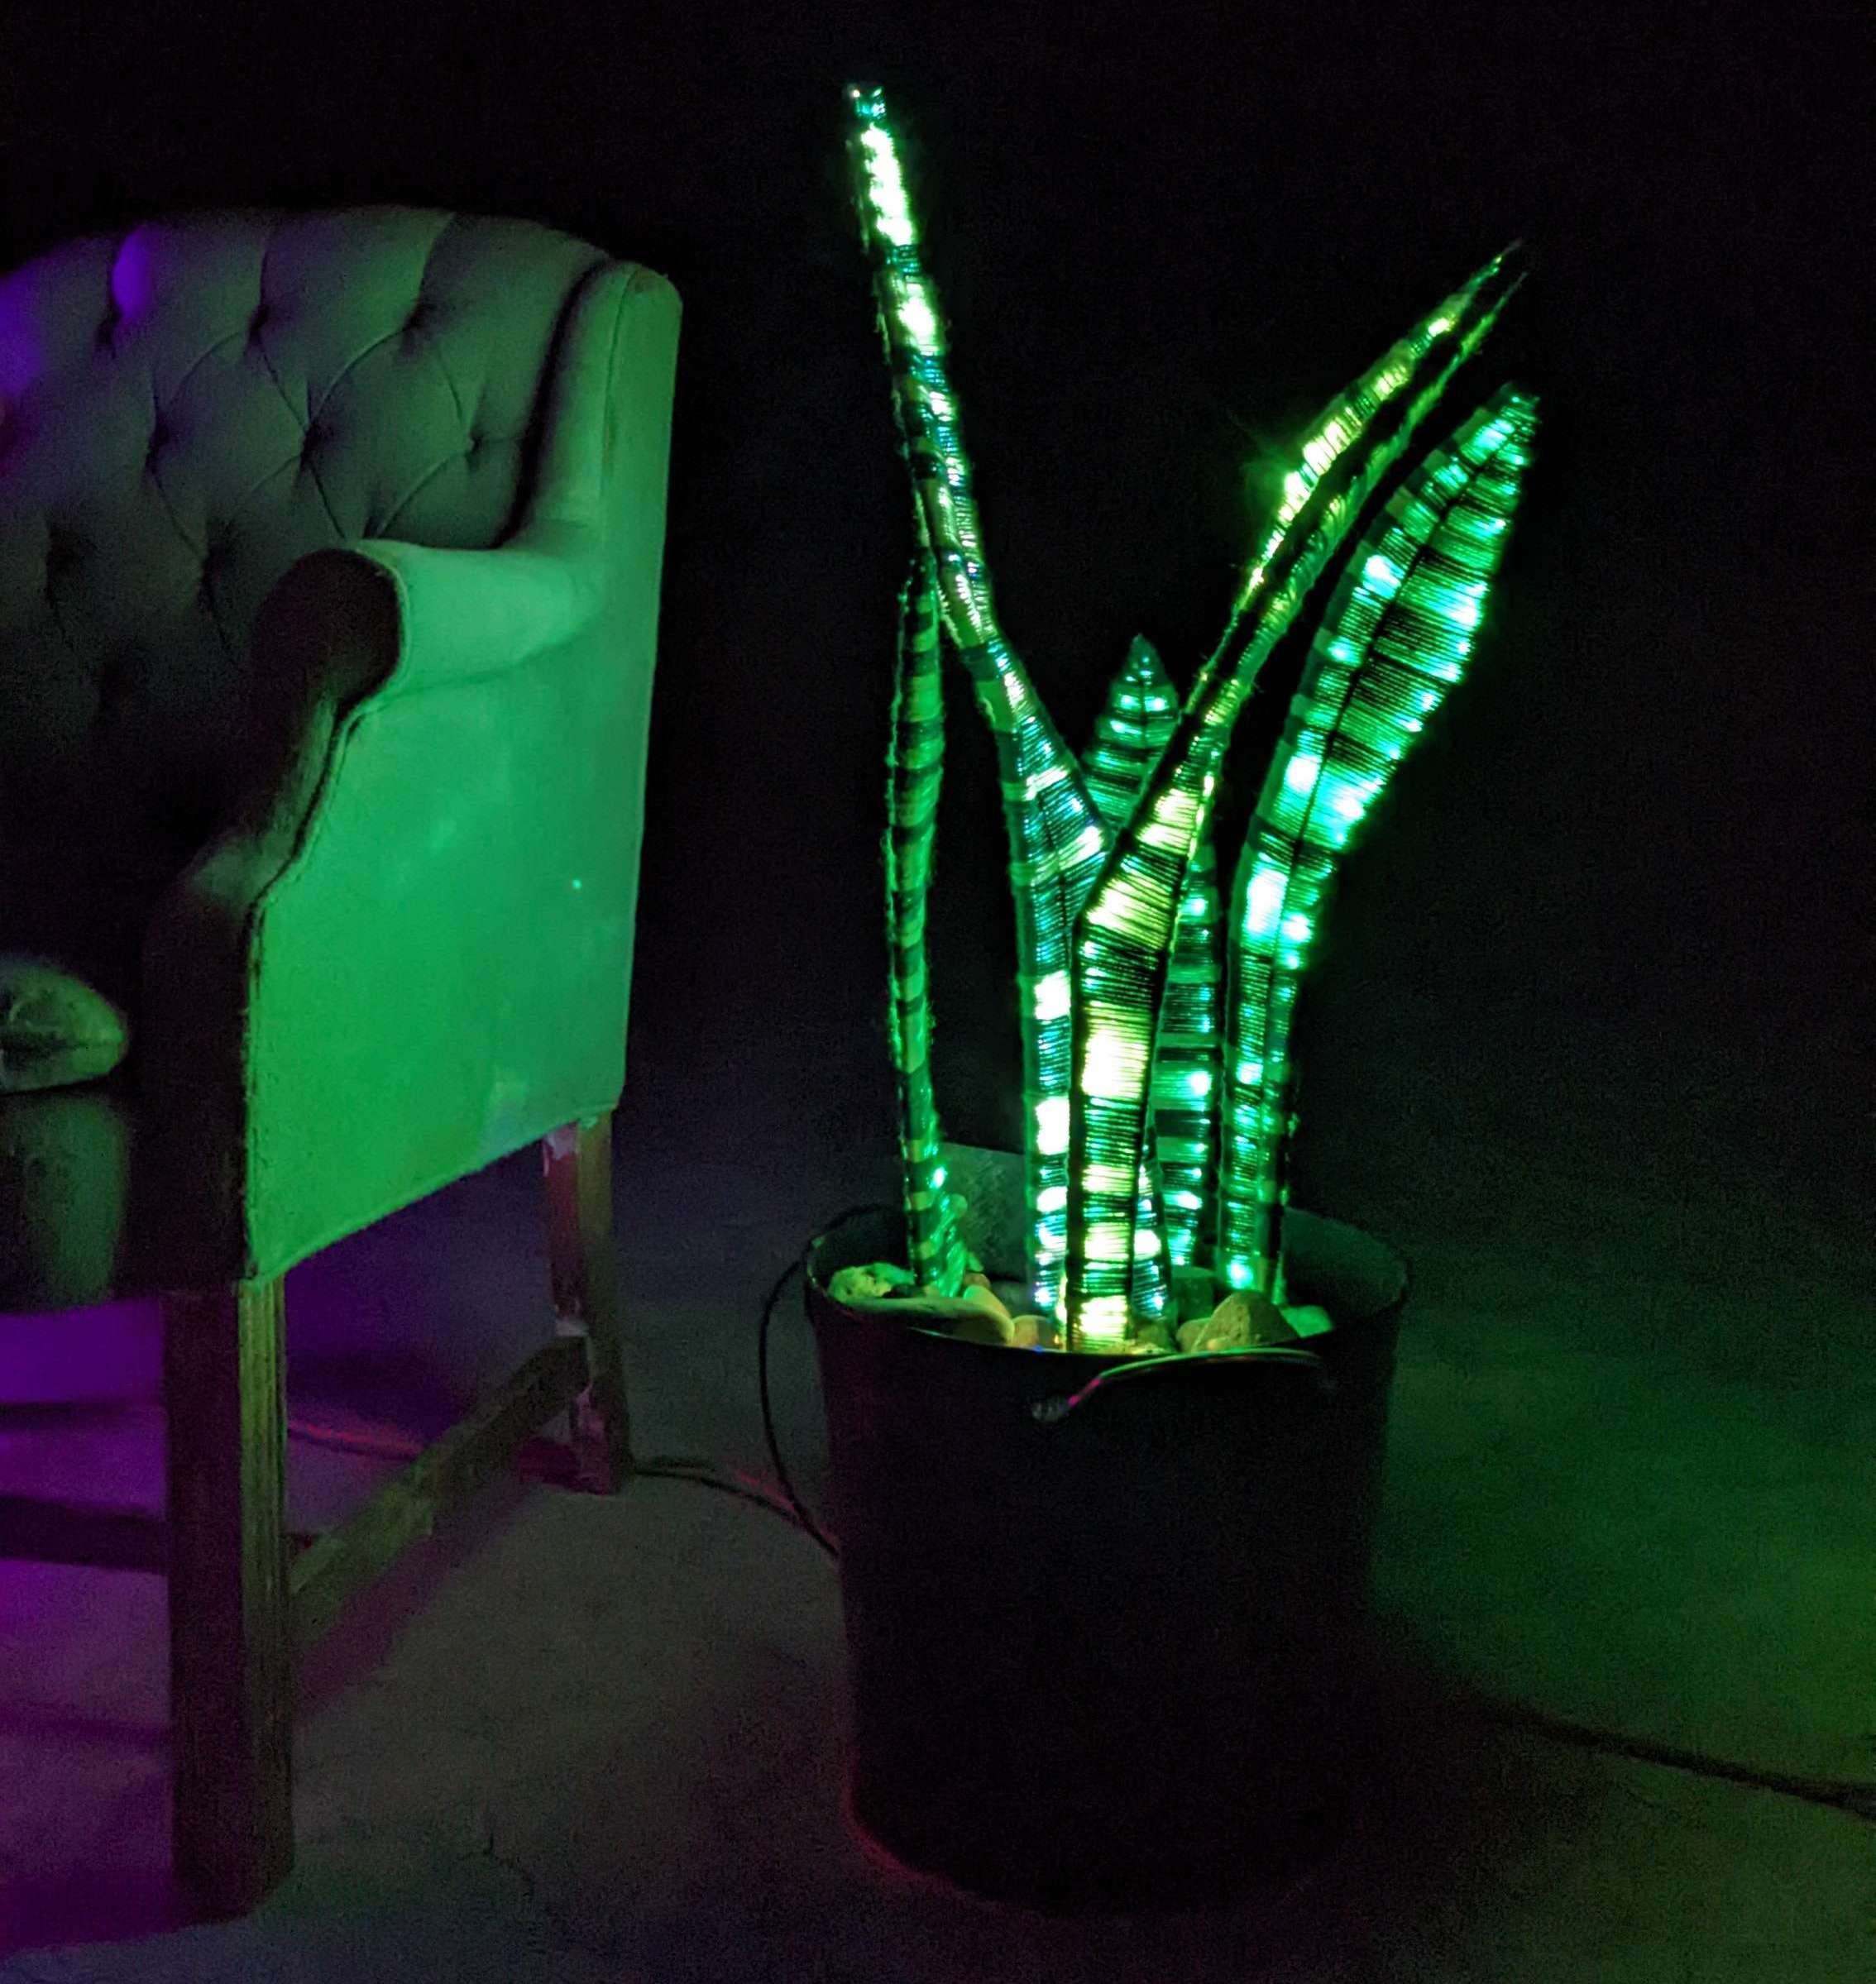
A potted snake plant with twinkling leaves of yarn. This plant doesn’t even need to be watered!
This piece is inspired by buying a house. I want to equip every room with LEDs, both practical and decorative. I decided to start with a house plant.
Materials & Tools
Leaves
- 1/8” threaded rod I bought 15x 36” rods (3 rods per leaf)
- 5V 300 pixel LED strip
- Yarn
- 10” round foam block for holding the leaves in place
Electronics
- ESP32 development board
- Rocker switch
- 3 pin wire connectors
- Mount screw terminal block connectors - These are amazing
- 3A output USB adapter
- Any 3’ USB cable with standard USB-3 on one end.
Tools
- Welder
- 3/4” diamond hole saw bit for drilling a hole in a rock!
- Soldering iron
- Solder
Process
- Design
- Test diffusing the LEDs
- Weld rods into wonky leaf shapes
- Wrap yarn around both sides of each leaf
- Arrange leaves in flower pot
- Collect rocks from the front yard
- Drill a hole in a rock!
- Wiring and board enclosure
- Code
- Video
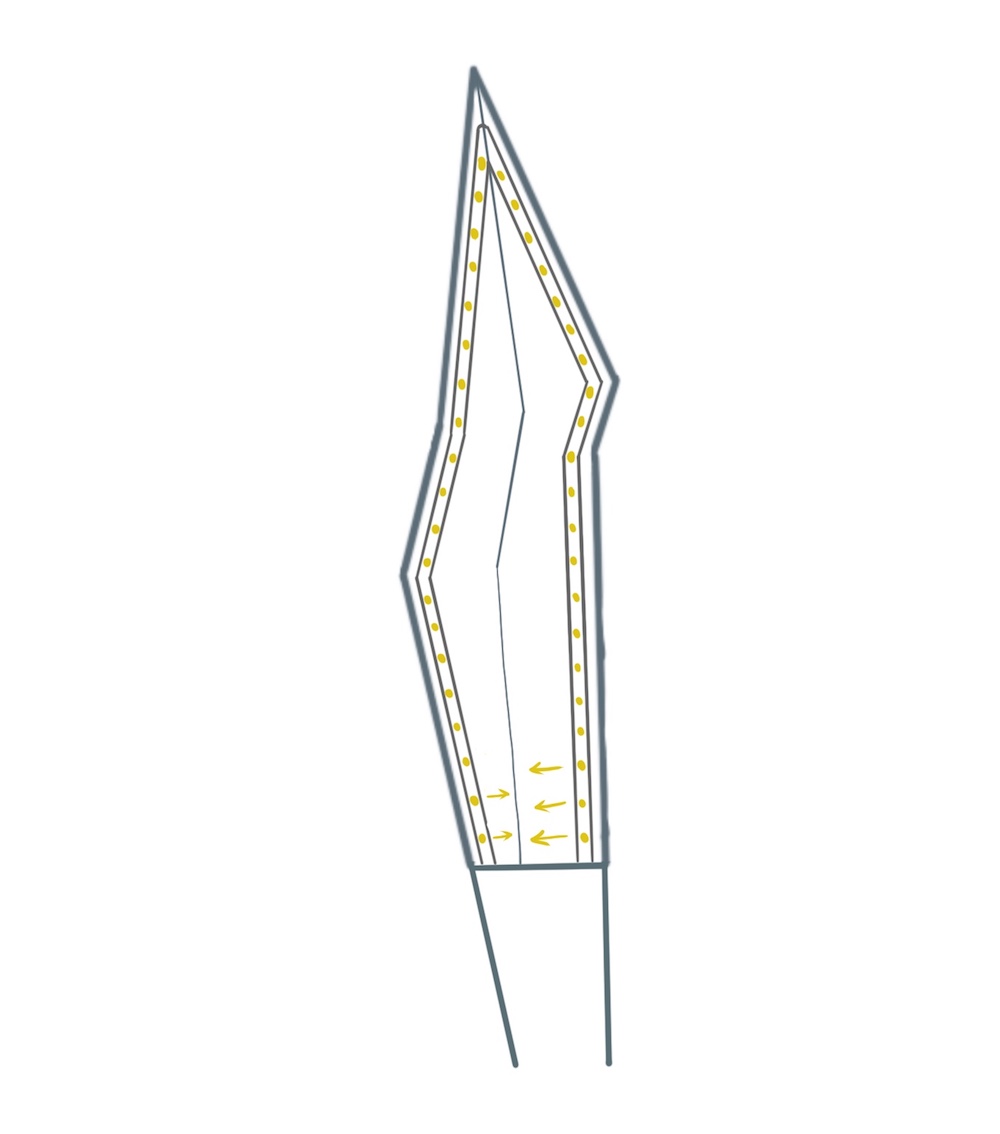
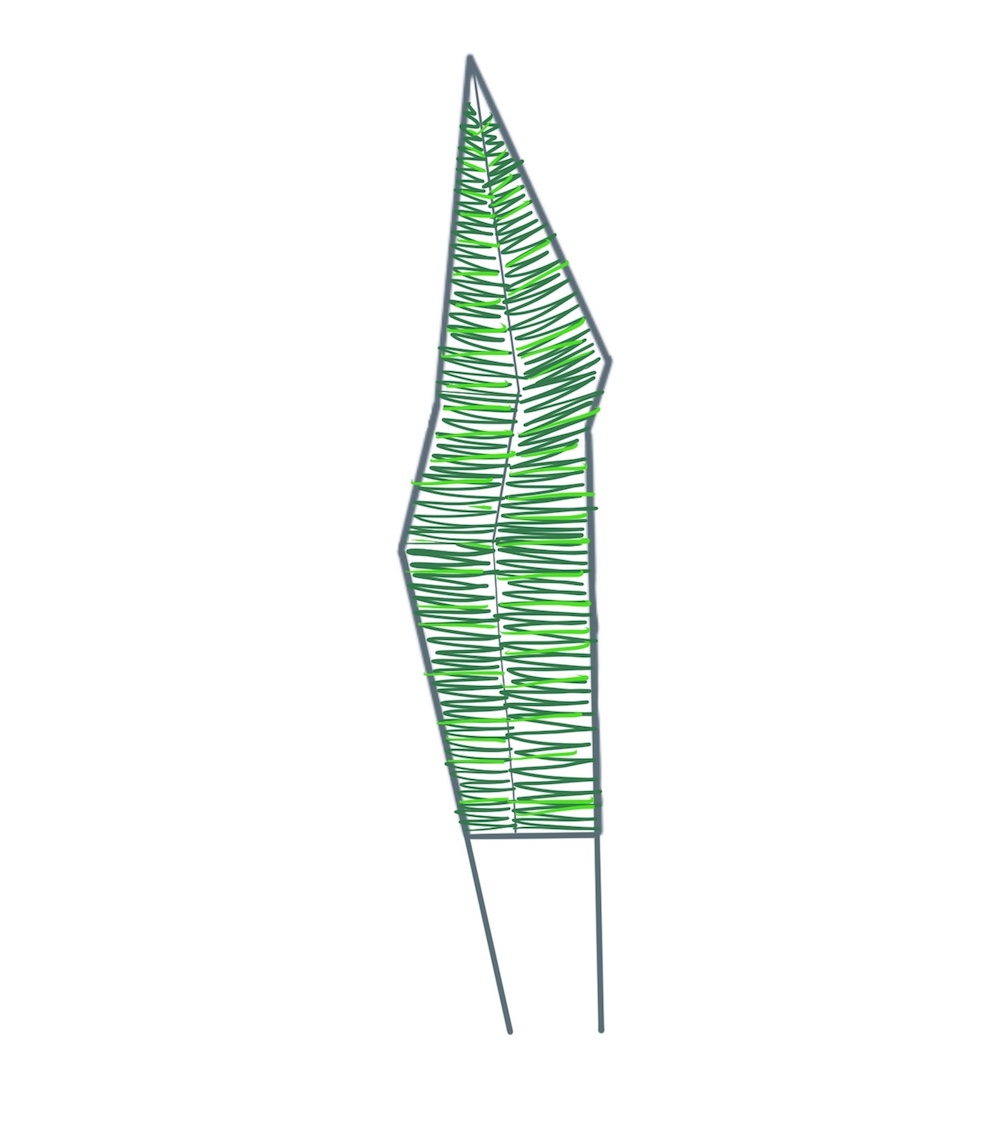
Design
Each leaf is made of 1/8” steel rod, welded together into wonky leaf shapes, with LED strips running along the inside edges and yarn wrapped around each side. Here are some sketches I made before I started building.
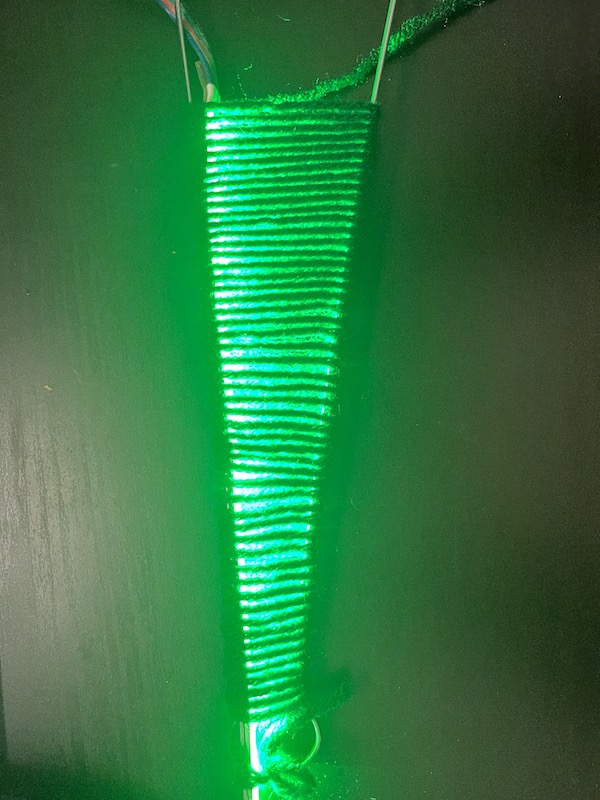
Test diffusing the LEDs
I’ve been wanting to try using string as a method of diffusing LEDs for a while. I originally wanted to use something clear/translucent like fishing line, but I realized I’d have to buy that, and I have so much yarn lying around. So I set up this test with some kitchen skewers to make sure the yarn would have the right effect of capturing the light and making the whole leaf look lit.
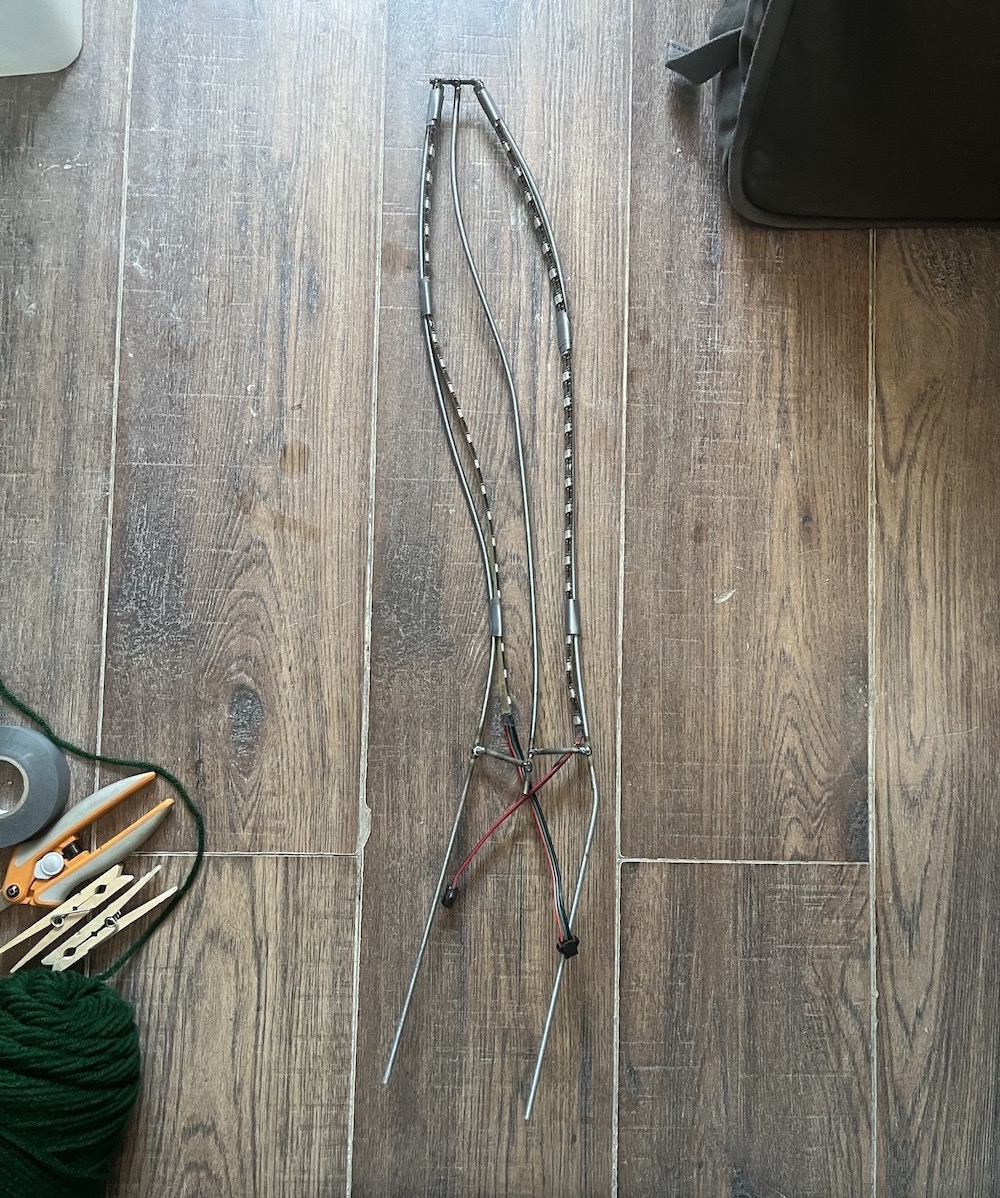
Weld rods into wonky leaf shapes
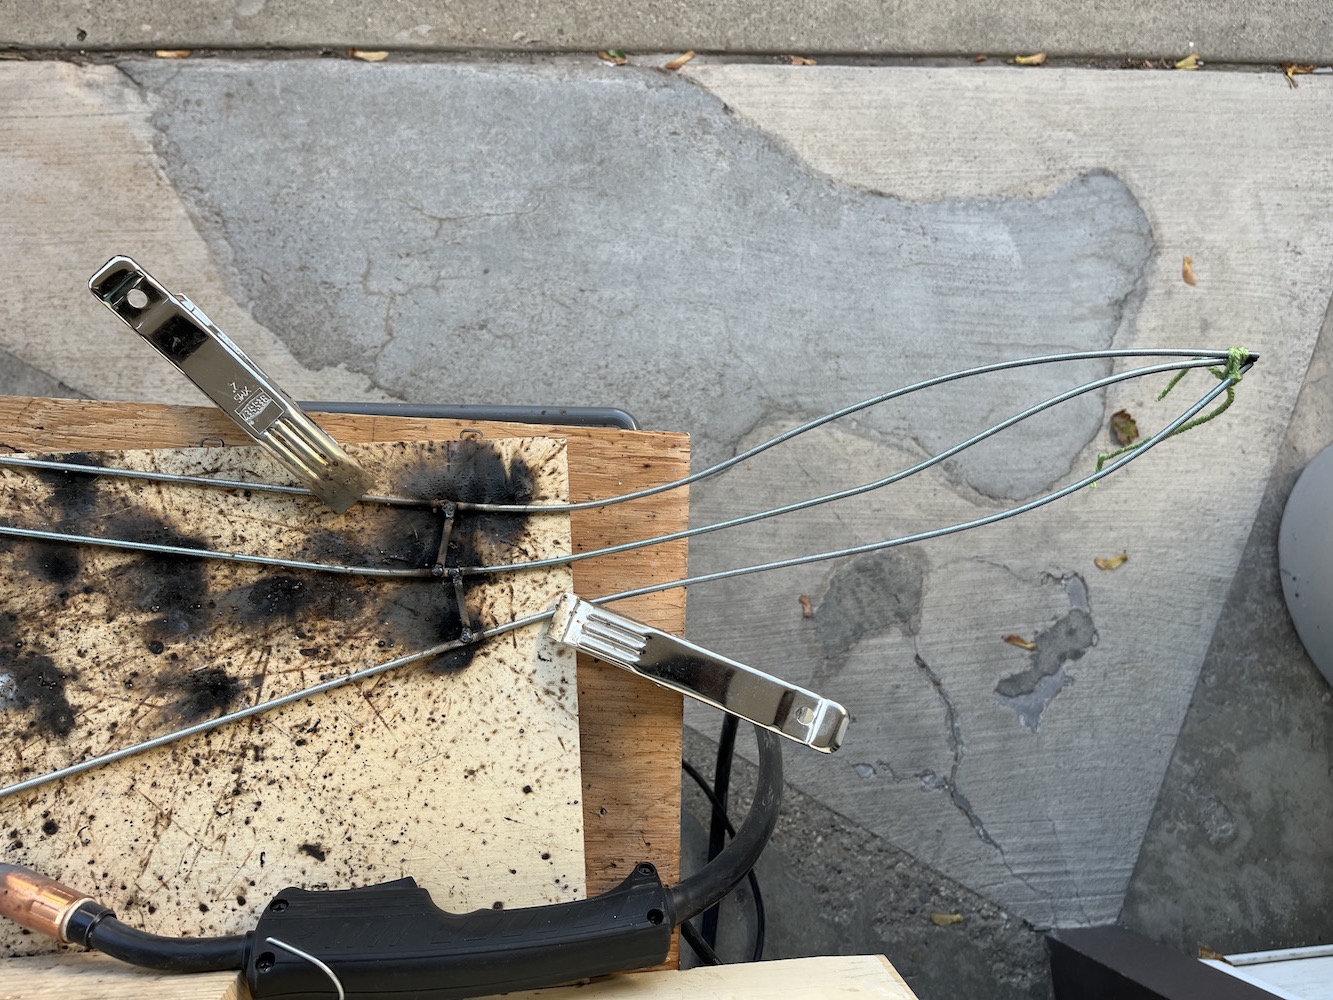
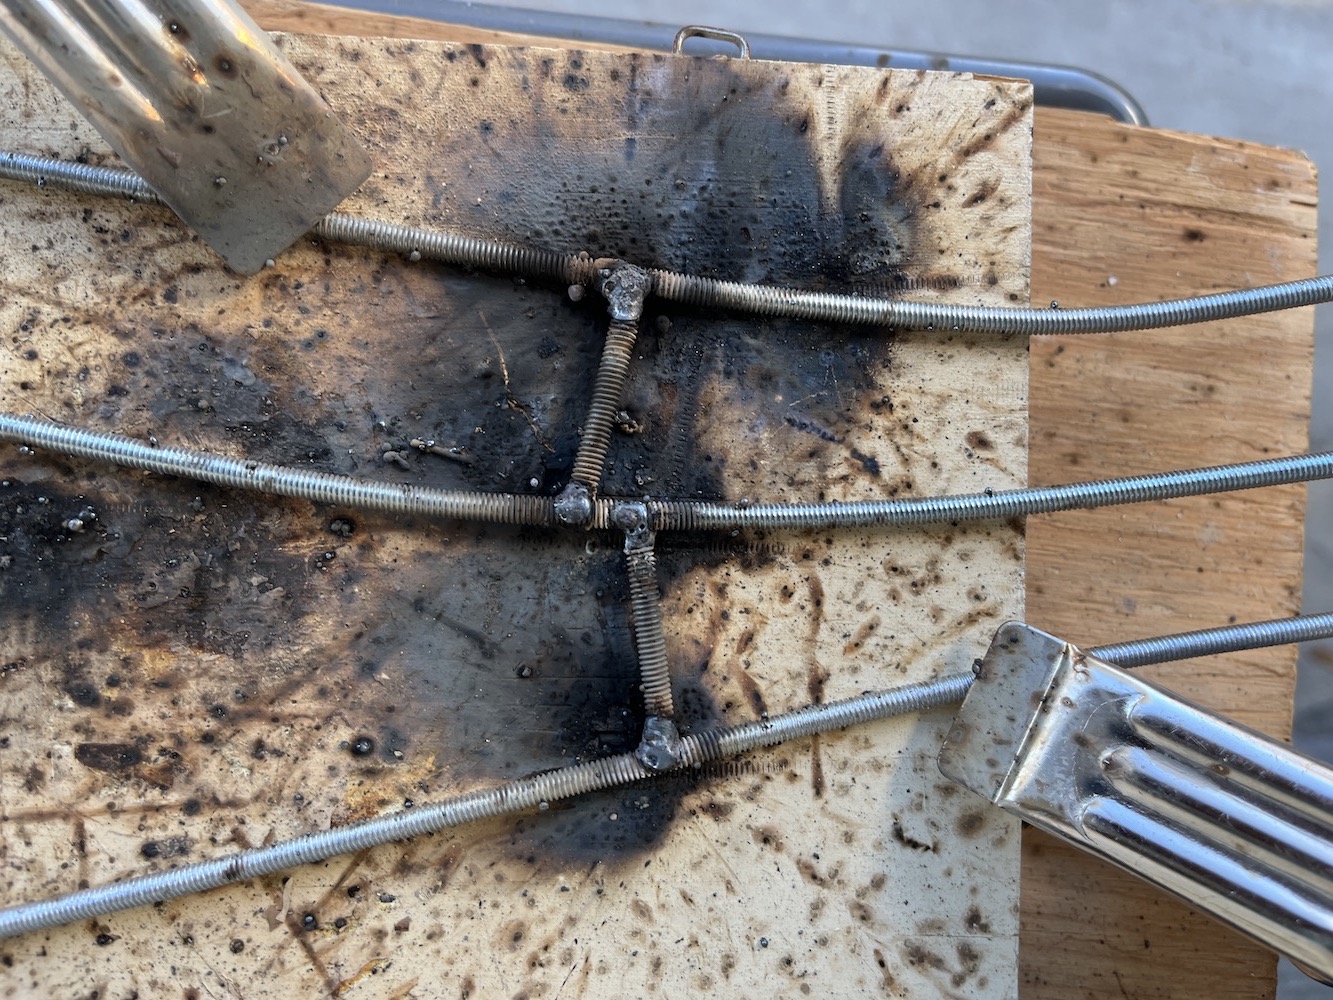
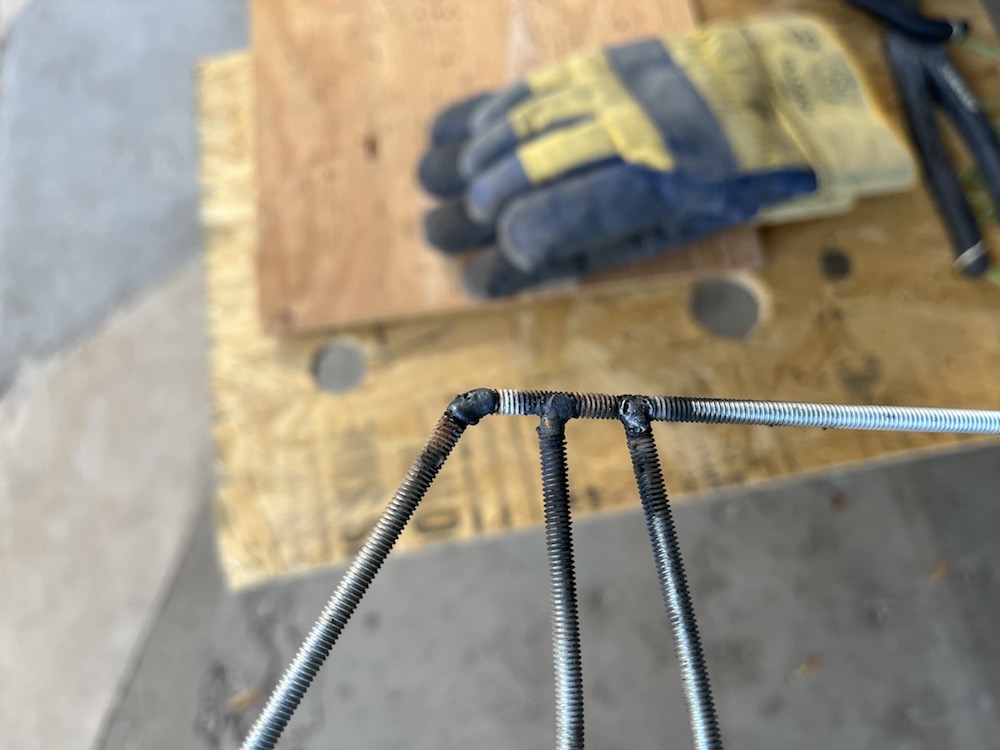
After bending the rods into wonky leaf shapes, (using photos of snake plants as reference,) I welded them together with little segments of rod. This was my first time welding, and it felt like the perfect level of difficulty for a first-time welder.
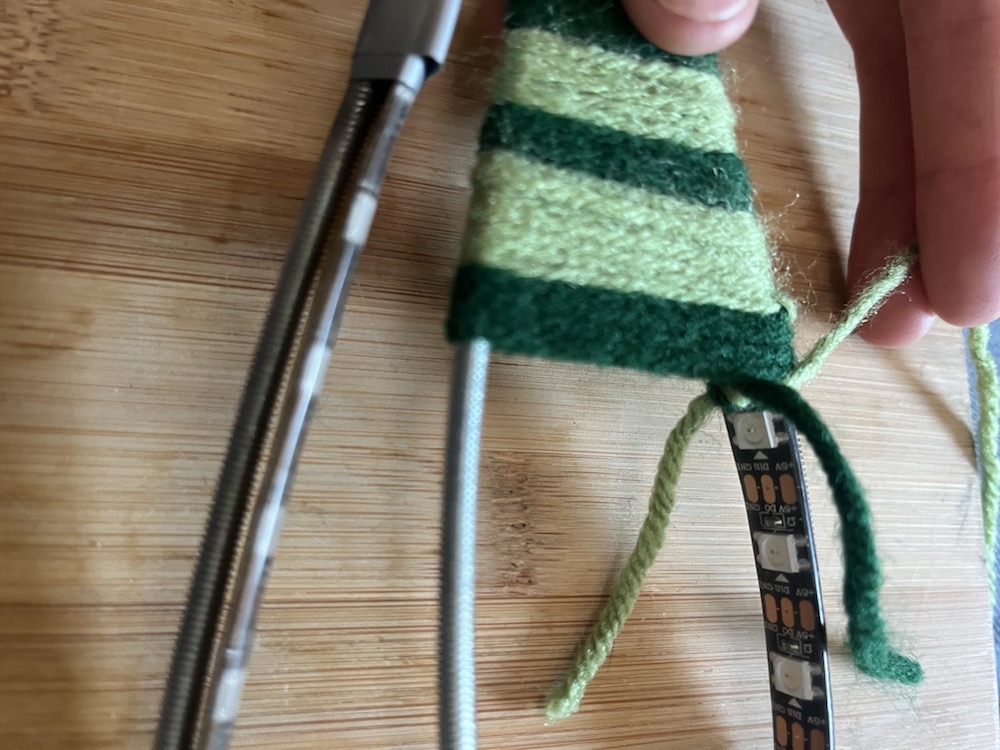
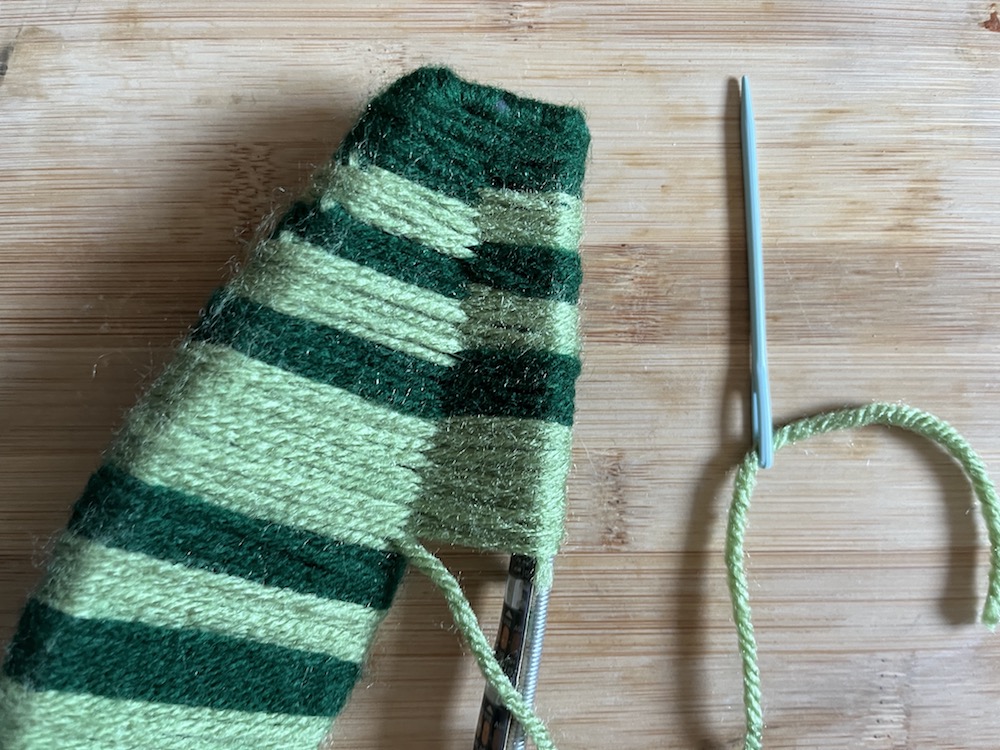
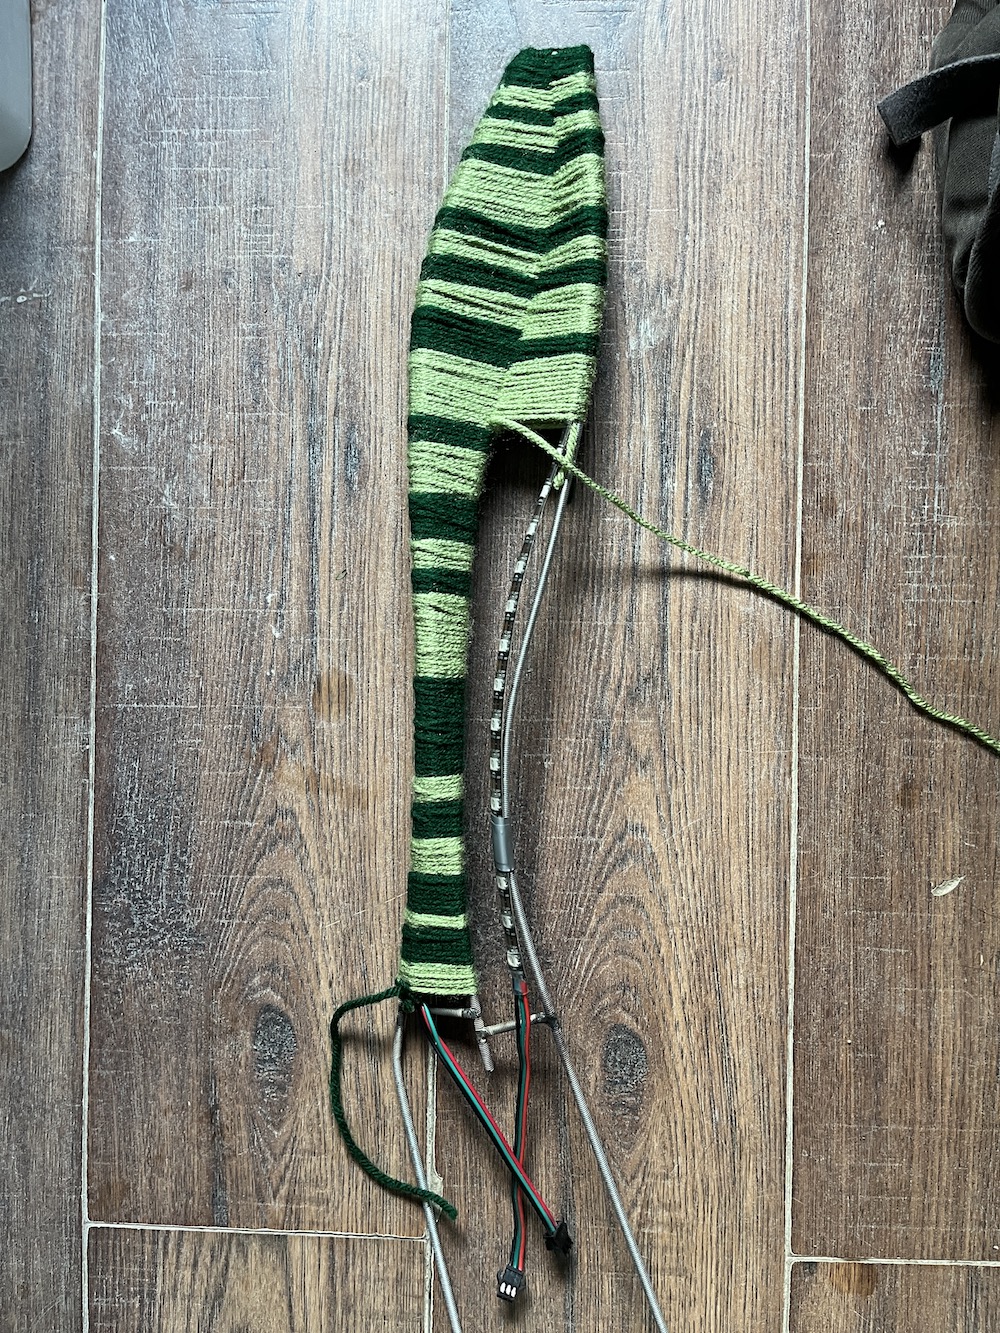
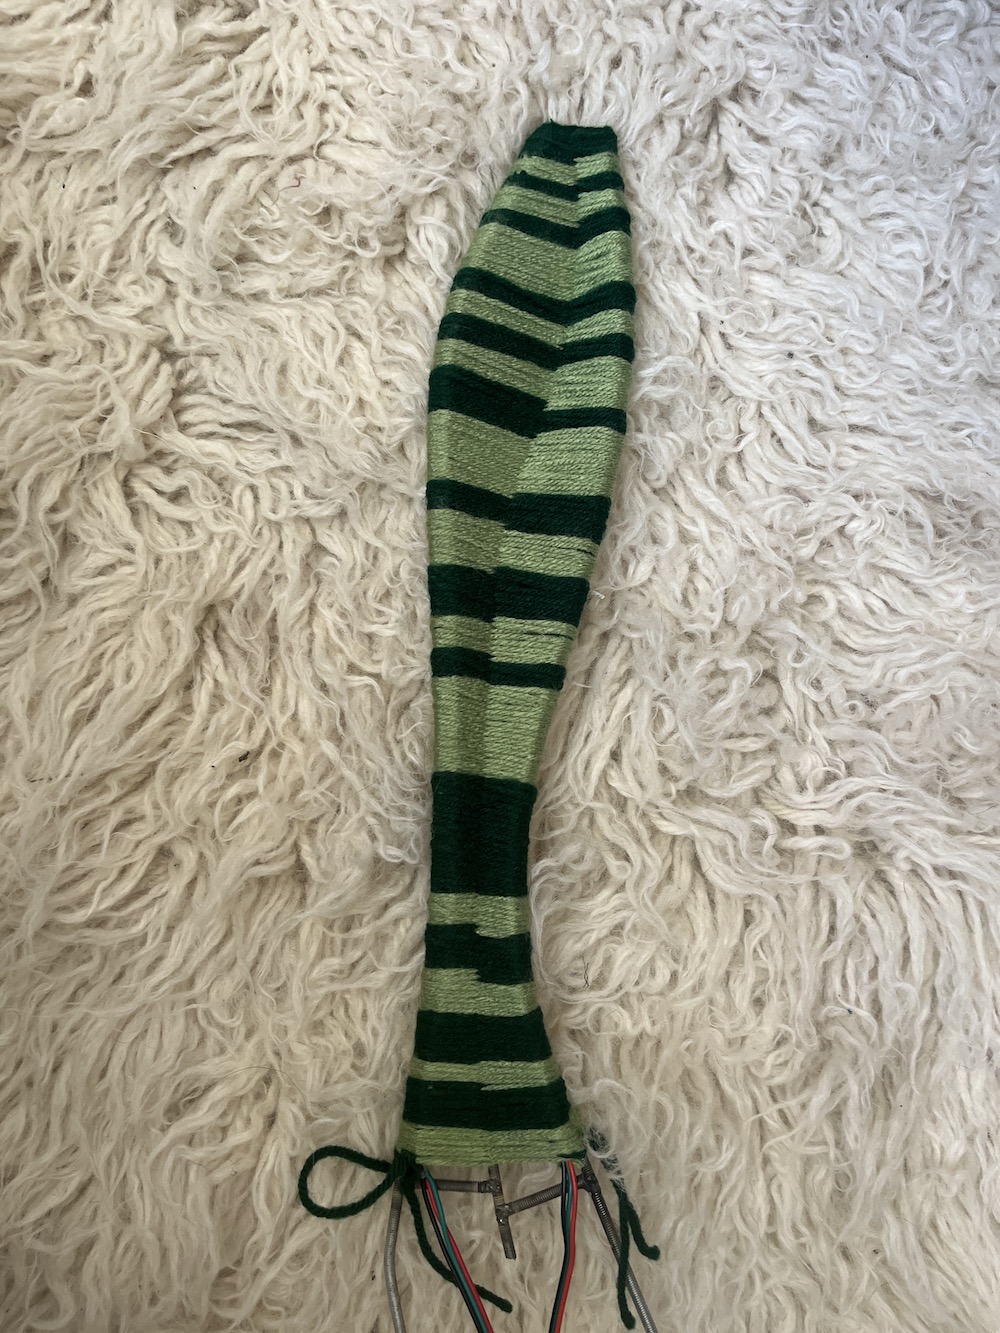
Wrap yarn around both sides of each leaf
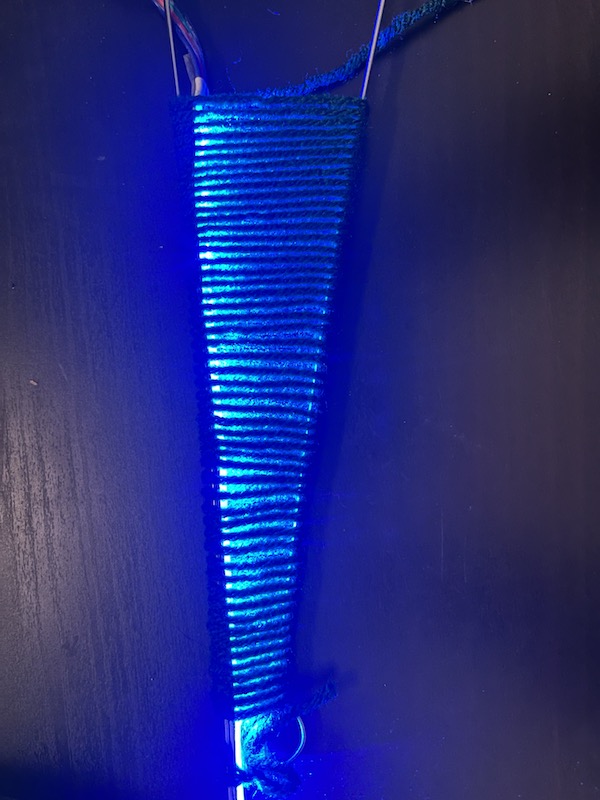
Just wrapped it round and round! It took about 4 hours per leaf. Every time I switched colors, I wrapped the yarn once around the LED strip to hold it tight to the outer rod, and also to hide the knot inside the leaf (shown in first photo).
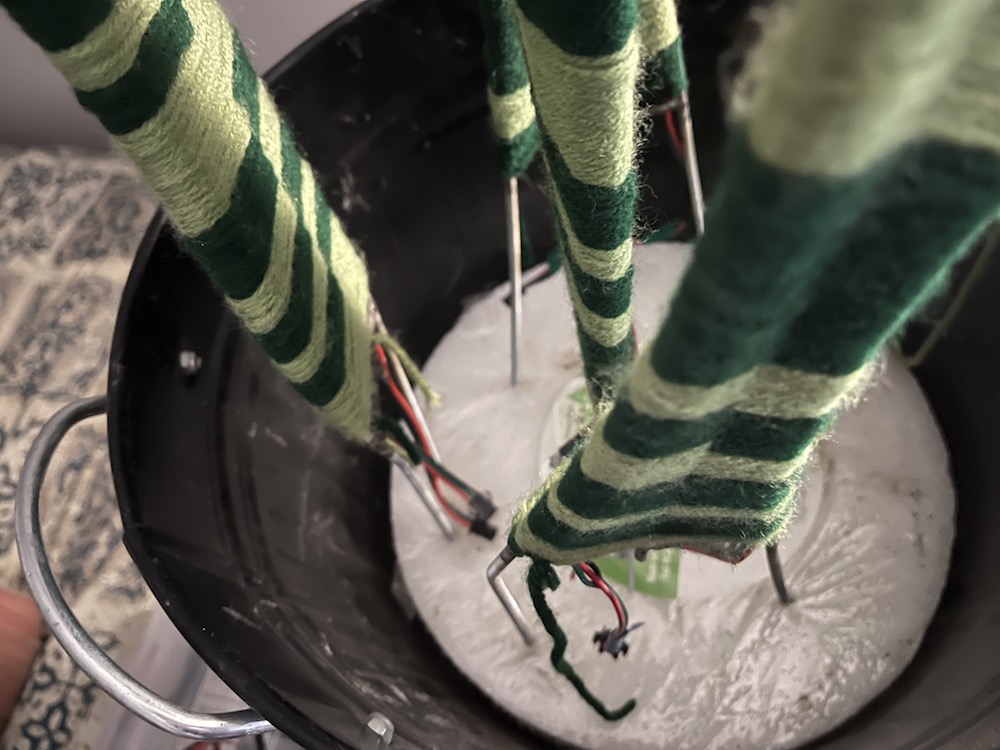
Arrange leaves in flower pot
I was planning to hold each leaf in position with only rocks, but it was harder than I expected to find the perfect positioning. So I bought this 10” diameter cylinder of craft foam to hold the leaves in place. It also helped balance the weight of the whole piece. Rocks are heavy…
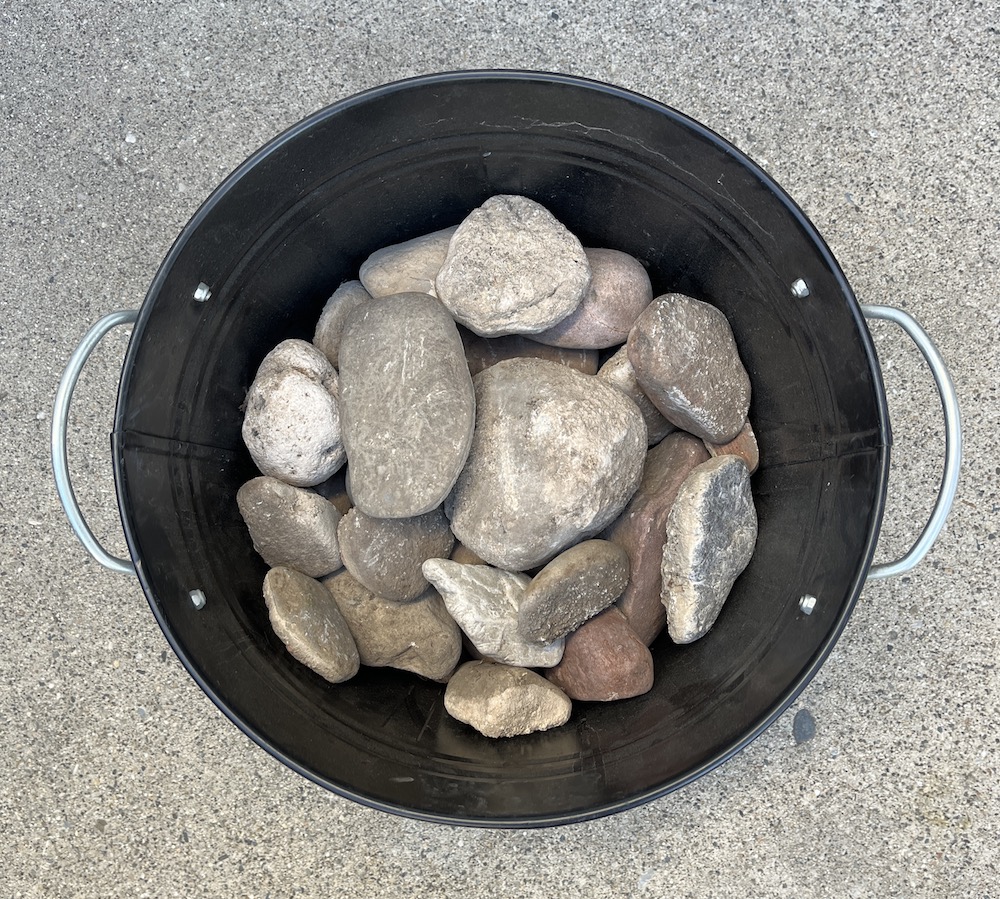
Collect rocks from the front yard
Really taking advantage of the benefits of homeownership.
Drill a hole in a rock!
I invested a whole $32 in this special drill bit just to drill a hole in this rock. It was definitely worth it. I drilled the hole with the rock submerged under water so that I wouldn’t fill the garage (and our lungs) with rock dust.

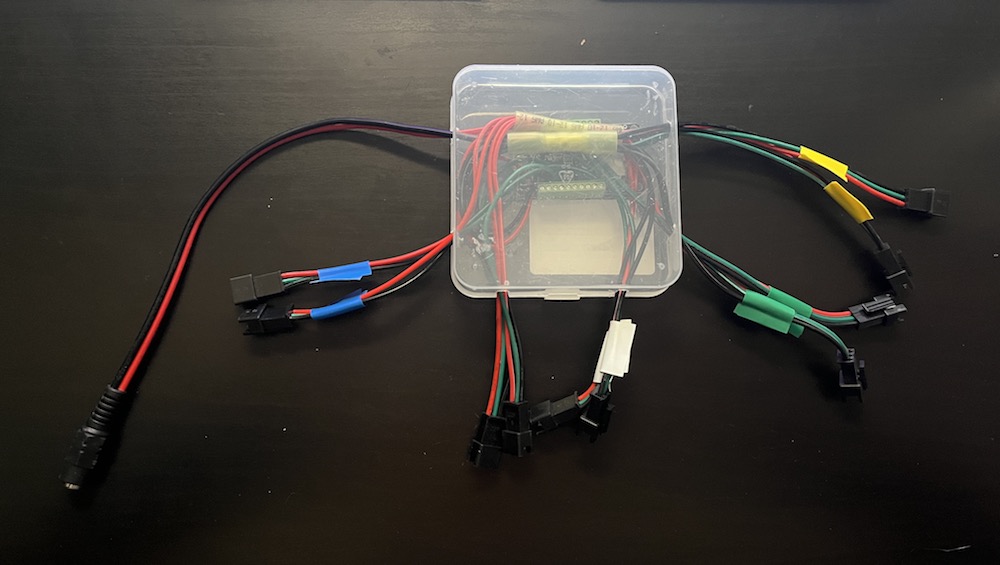
Wiring and board enclosure
I made this little enclosure out of a plastic case I had lying around to protect the board from getting squished under the rocks. I used a dremel to cut out slots for the LED connectors and power.
Schematic
I think this schematic looks more complicated than it actually is. There’s just a lot of wires, and I got carried away with the lines and right angles.
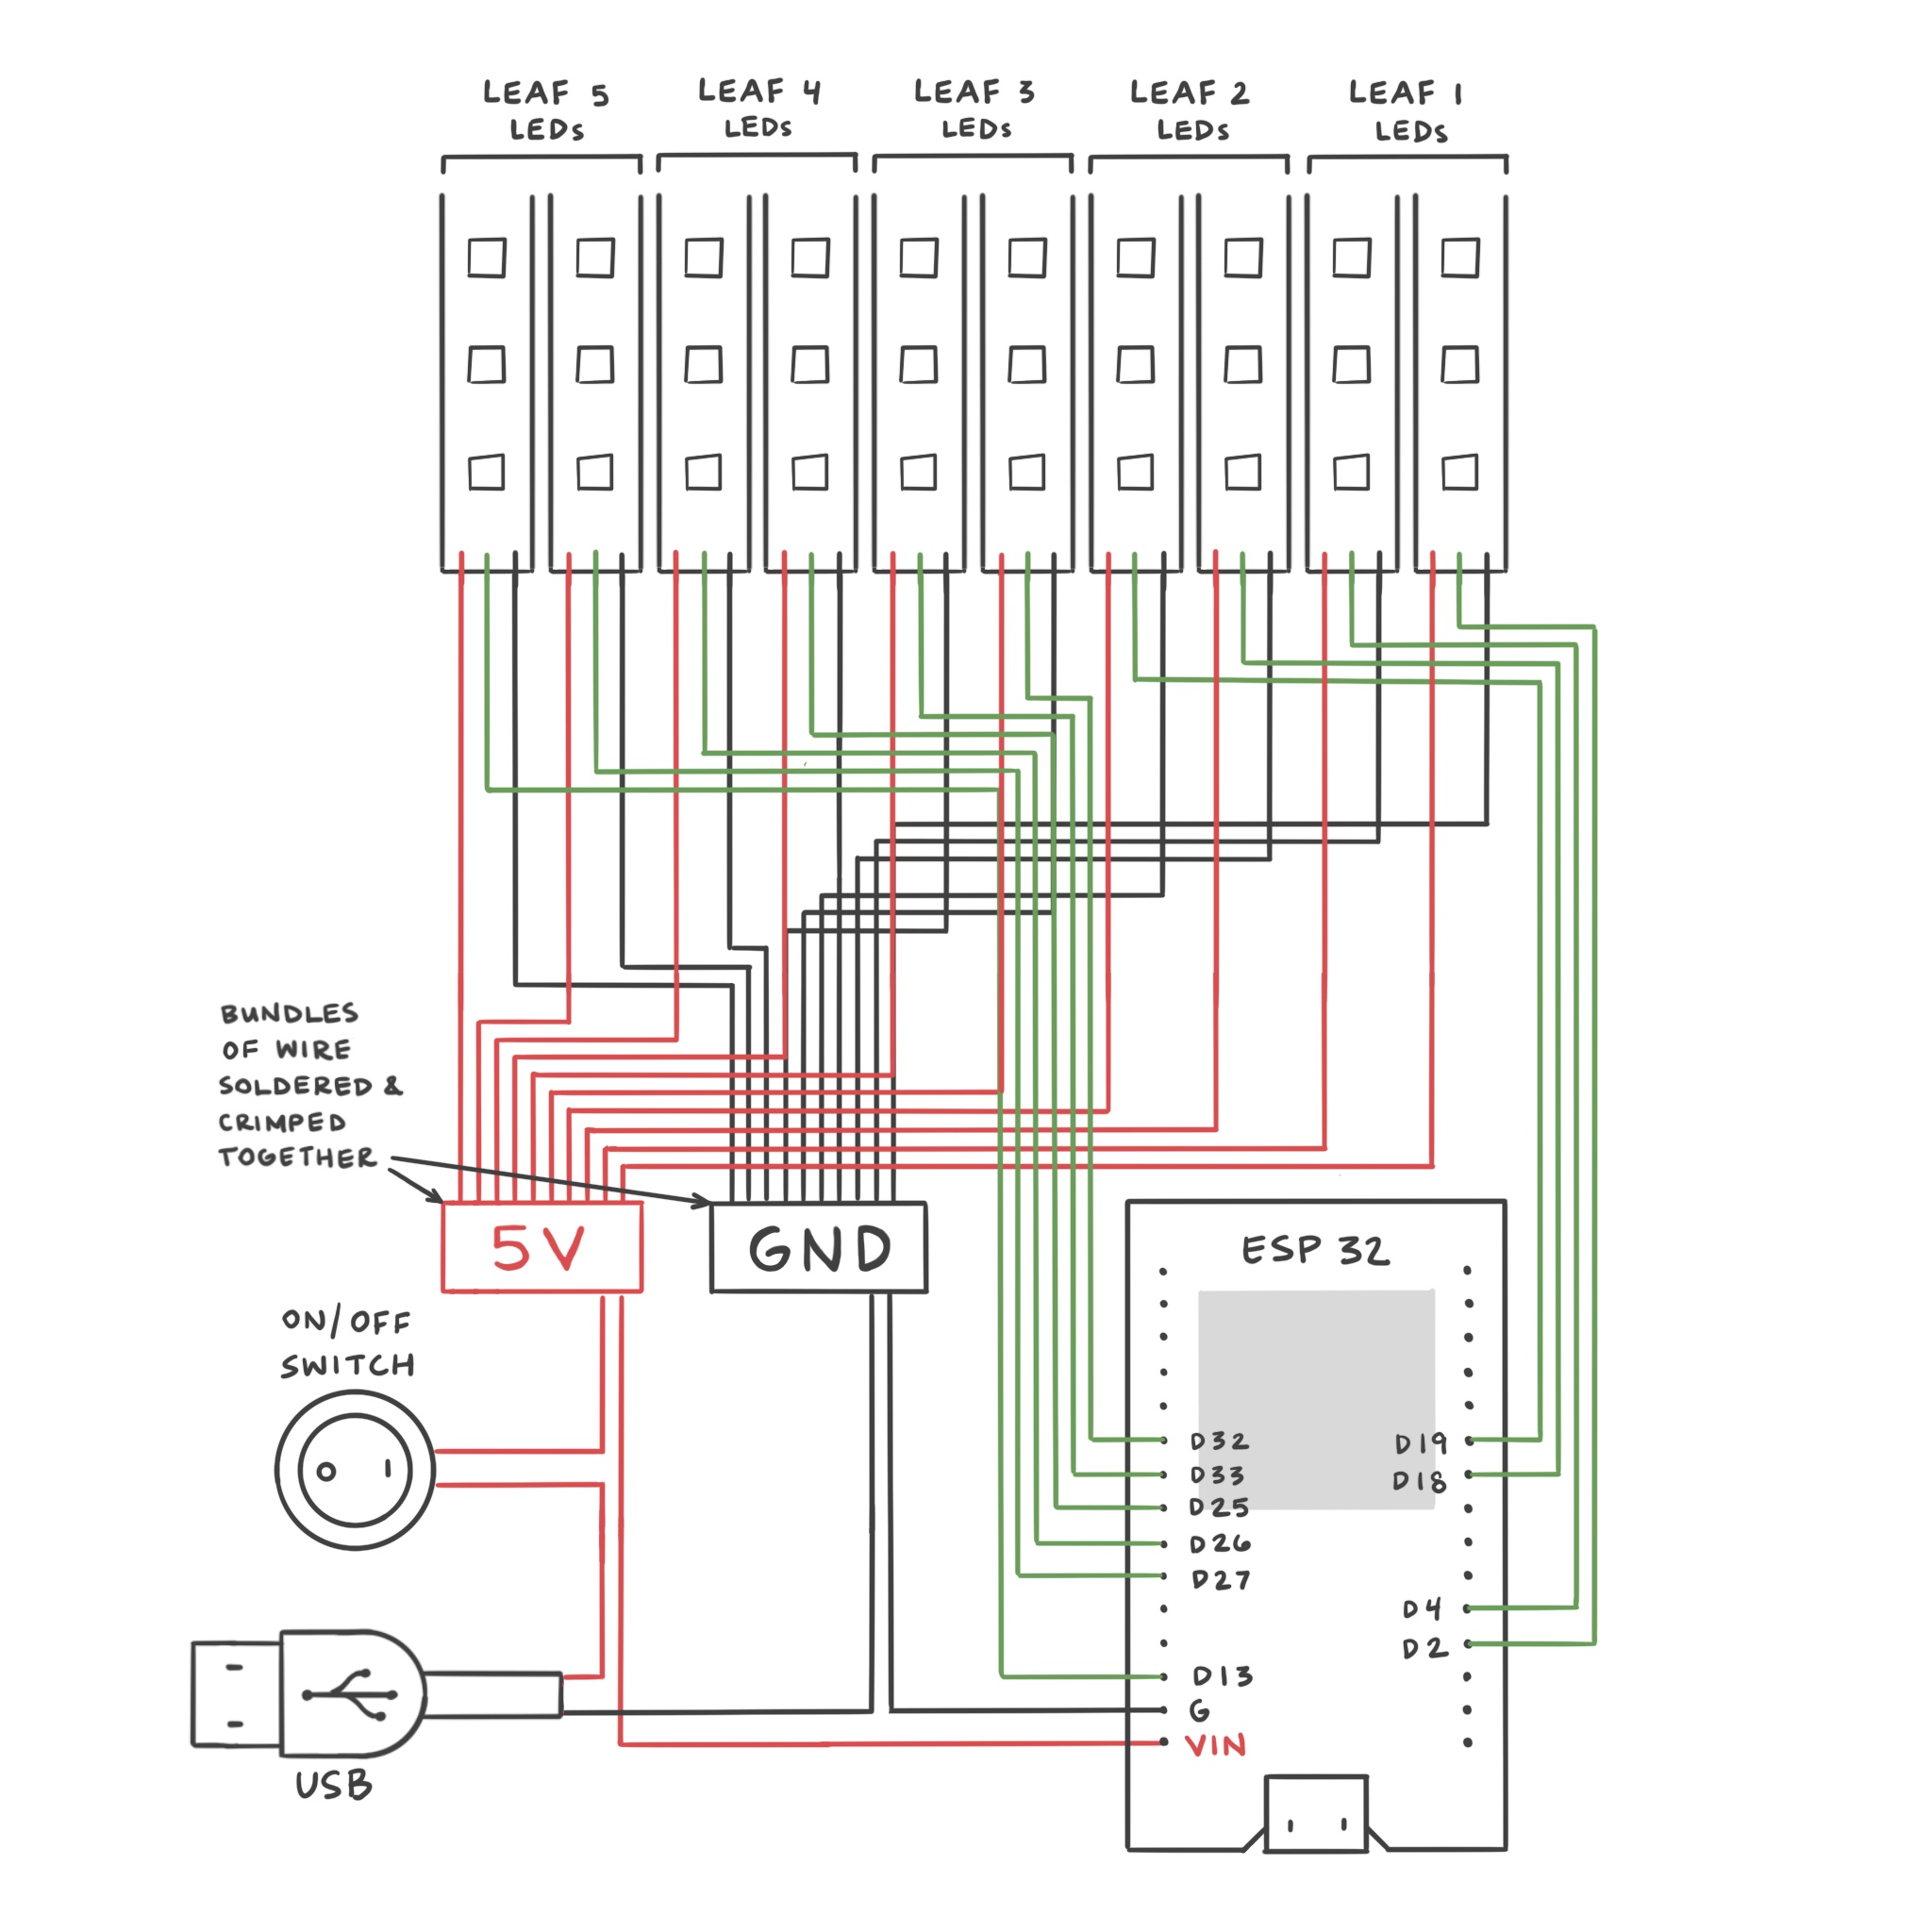
Note: I had to disconnect the VIN pin while uploading code to the board. When the board is powered by microUSB, the VIN pin outputs 5V, and since the VIN pin is wired to the same bundle as the LED power input, my computer kept disabling the USB port because it was “using too much power” to power all 300 LEDs! But this is what’s so beautiful about these mount screw terminal block connectors! You just unscrew the pin instead of having to un-solder and re-solder.
Code
I mostly reused existing code for this project. It’s just FastLED’s TwinkleFox algorithm cycling through four leafy color palettes.
I enjoyed using the same strategy for the LED array that I did with the Tree of Light Prototype as a way to manage multiple arrays of different lengths. (The Tree had 9 discs with different LED counts, and Snakey here has 5 leaves with different LED counts.) I wrote about it there too, but here it is again just for fun:
Here’s how I allocate multiple LED strips with different lengths to a single array:
CRGB *leds;

// number of LEDs on each side of each leaf
int NUM_LEDS[] = {21, 25, 30, 35, 40};
int NUM_LEDS_TOTAL = 2 * sum(NUM_LEDS, NUM_LEAVES);

void setup() {

  leds = new CRGB[NUM_LEDS_TOTAL];

  int offset = 0;

  // add LEDs leaf 1 side 1
  FastLED.addLeds<NEOPIXEL, PIN_1A>(leds, offset, NUM_LEDS[0]);
  offset += NUM_LEDS[0];

  // add LEDs leaf 1 side 2
  FastLED.addLeds<NEOPIXEL, PIN_1B>(leds, offset, NUM_LEDS[0]);
  offset += NUM_LEDS[0];

  // leaf 2, 3, etc...
}
Each leaf has pointers marking the beginning of its left and right side:
struct Leaf {
  int leafIndex;
  int numLEDs;
  CRGB *ledsLeft;
  CRGB *ledsRight;

  void setLED(int index, CRGB color) {
    ledsLeft[index] = color;
    ledsRight[index] = color;
  }
};
Looping over all the leaves looks like this:
for (int l = 0; l < NUM_LEAVES; l++) {
  for (int i = 0; i < leaves[l].numLEDs; i++) {
    leaves[l].setLED(i, CRGB::Green);
  }
}
Video
Thanks for reading!